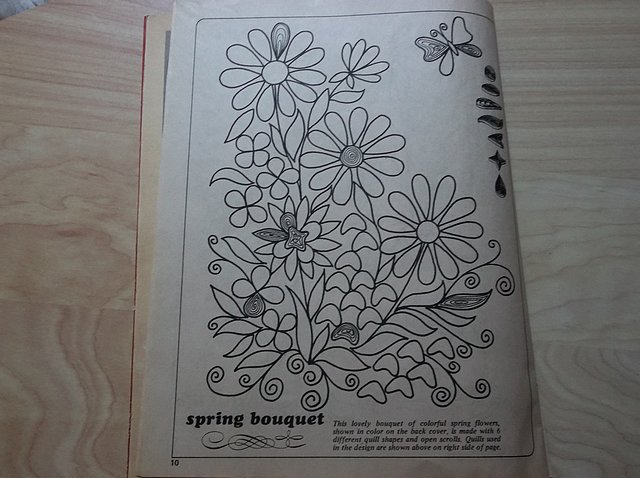
 I decided to do another paper quilling crafts project. Sometimes I jump from one project to another, but this flower pattern caught my eye, and I could not resist the temptation to complete it. I had most of the colored paper stock already so I said ‘why not’, and got started. This was not a difficult quilling pattern, but I did run out of paper at one point. In addition, I decided to buy a small manual machine for making my strips of paper, thus enabling me to save some money on precut quilling stock.
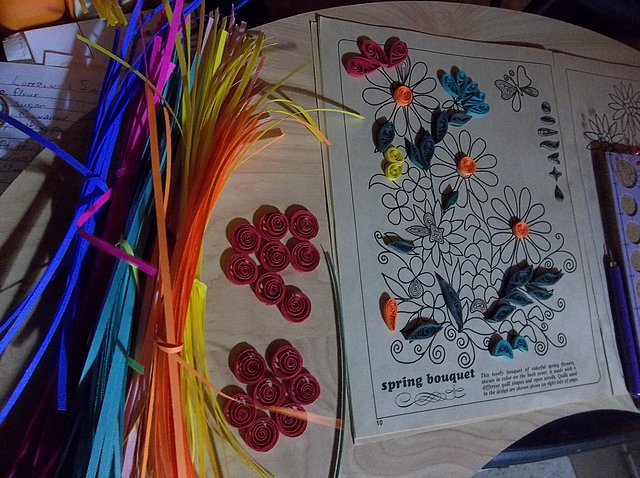
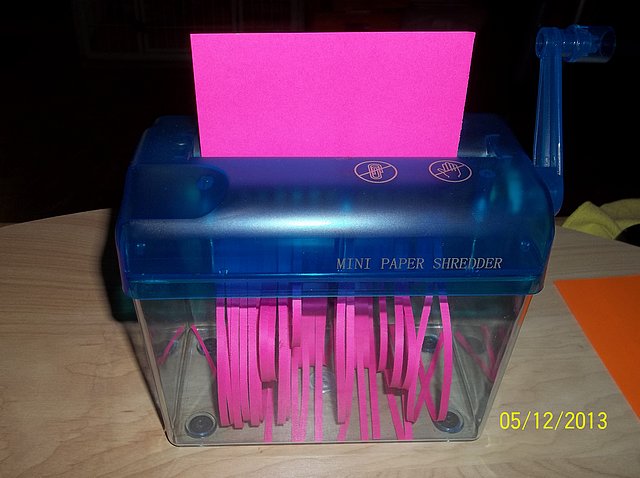 This project was a first for me in that I used the paper cutting machine to make all of my strips. The machine functions like a paper shredder and works very well. The edges are slightly jagged and not quite as smooth as the factory precut paper, but hey, now I can cut strips from any paper I choose.
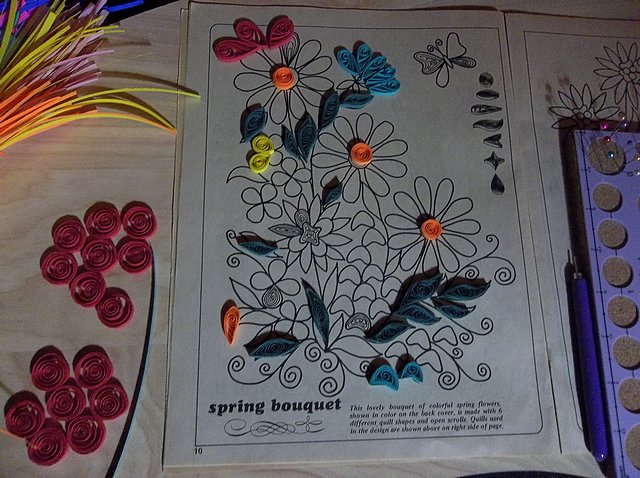 As you can see, I roll my strips into the desired size and then I position them on the pattern to check for size. The quilling board helps in making uniform circle sizes which are later slightly squished to the desired shape. When I am satisfied with the result I move on to another shape. After all the shapes are completed for one flower I then glue them together on the cork board.
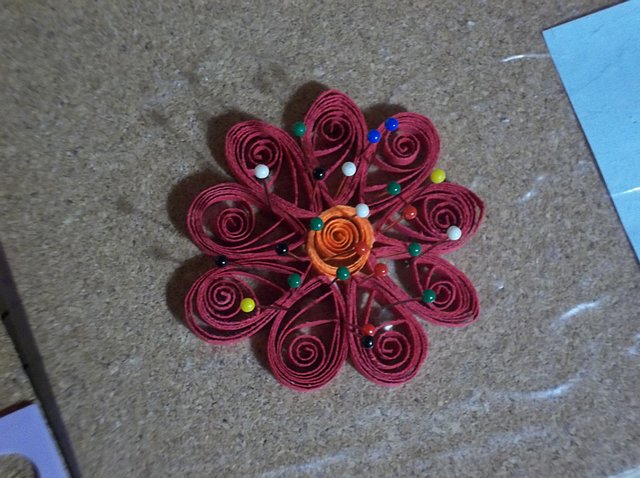 The red flower example is pinned to the cork board. This is the way I add the flower petals to each other and thus making the final flower shape. I like to glue all my shapes together this way. The wax paper underneath the shape keeps the glue from sticking to the board.
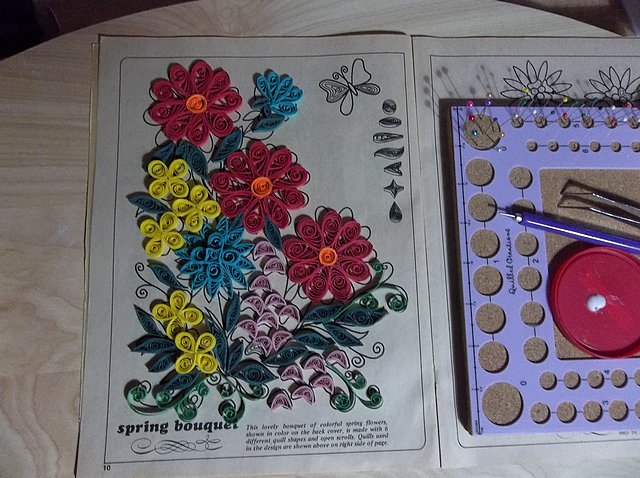 Once I completed all of my flowers, I then positioned them together using the pattern as a guide to check for proper fit and alignment. Afterwards, I put them together again, but not on the pattern, and then I glued them all to one another. Remember that I have already checked each one against the pattern so they should all fit together nicely, and did. The butterfly is the only part that is separated from this gluing together.

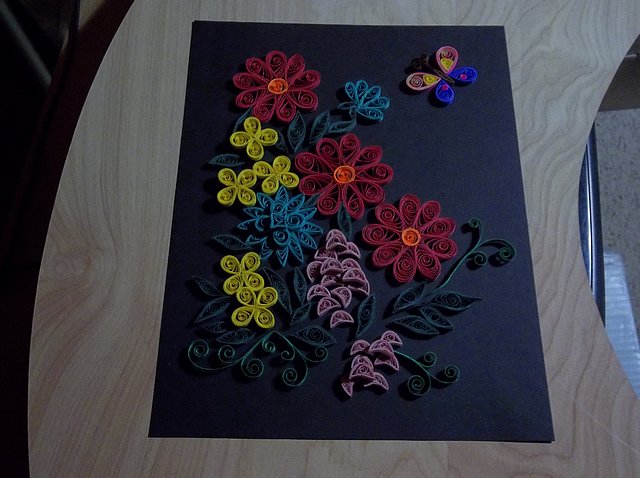 After all the glue is dry it was time to decide on a mounting background. I could not decide on which mounting background to use. I had to choose from a black, green, gloss white, and matte white. I decided to choose the matte white. The colors seemed to stand out better with the matte white, but I liked the black as well. After the flowers are glued in place on the matte white background, I will mount my work in a frame.
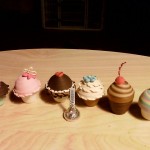
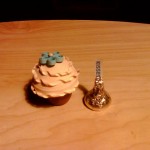
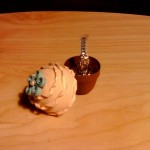
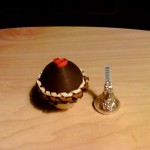
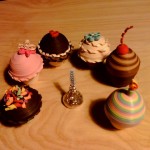
I ran across these cute little projects and couldn’t wait to try them. It’s a Cupcake Party!
-

- Party Time With All The Cupcakes (group picture)
-
- Birthday Treat Cupcake Selfie Photo
-
- Birthday Treat Cupcake With Surprise Inside
-
- It Party Time
-
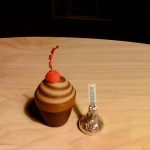
- Mocha Cherry was also invited
-
- Mocha Cherry surprise inside too
-
- Forget-Me-Not Cupcake Selfie Picture
-
- Forget-Me-Not Cupcake has a surprise as well
-
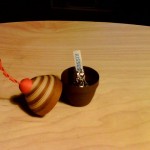
- My Valentine came to the party
-

- My Valentine with a surprise inside
-
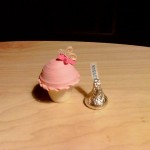
- Pretty In Pink came to the cupcake party (selfie)
-
- PIP has a surprise inside
-
- Group Photo of Cupcake Party
-
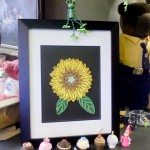
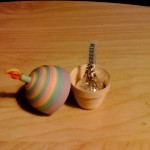
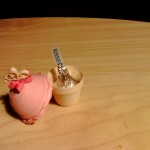
- Sunflower that I enjoyed making
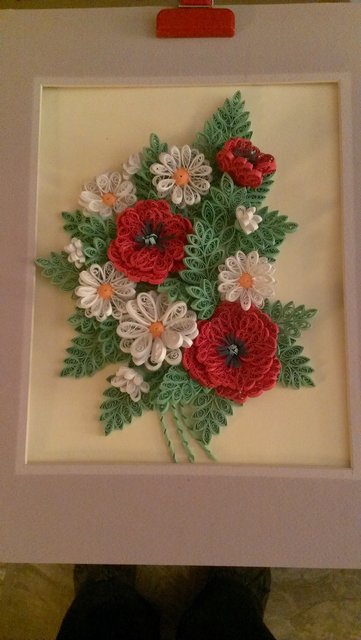
Poppies and Daisies
Poppies and Daisies
This design is in Malinda Johnston’s book “The Weekend Crafter-Paper Quilling.” I used a combination of pre-cut and shredded papers. The red and white papers are quilling strips by the Paper Company. The black, green, and orange were cut using a hand crank paper shredder. The shapes used in this project are tight circles, grape rolls, tear drops, marquise, fringe for poppy centers, and spirals. The background is straw colored card stock mounded on white poster board.
I wanted the quilled bouquet to fit within an 8 x 10 opening, so I used an old mat as a guide. The person who commissioned this piece wanted it left unframed. Once it is framed, I will post an updated picture.
(click picture to enlarge)
Flyer Fun
This was a fun project done for a friend. I started out by finding a coloring page on the internet for the Philadelphia Flyers Hockey Team Logo. Once that was done it was time to find the right match for the team colors in my papers. I chose to use Core’dination’s Premium ![]() Cardstock by Darice.
Cardstock by Darice.
Black 2 sheets – from – “Parisian Nights”
White 1 sheet – from – “Great White”
Orange 2 sheets – from – “Candy Shop”
Once the colors were chosen it was time to shred each sheet. I use a hand crank shredder for this. This process does not leave the edges as sharp or crisp as commercially cut strips, but does not take away from the beauty of the finished piece either.
Once the strips are ready, I have to tear—I never cut them into the right lengths. For this project I used from one to 2 1/4 inch lengths.
Starting with the outline first; Quilling 1 inch length black into circles, flattened slightly and glued closed. Once glued into position I then added 2 lengths of black around the outer edge to give it a more finished look.
Next is the orange. I quilled 13 full lengths into a tight circle, then pinned it into position. The white is next. Lengths used here are 2 inches long quilled into loose circles. These are now glued next to the black and orange. Now all that is left is to fill in the inside with black. Here I used 2 1/4 lengths quilled into loose circles.![]()
It is almost done. Black paper has a tendency to look sort of dull. Therefore, the last step is to seal the project. For this I used PPA (Perfect Paper Adhesive) Gloss. Now I let it cure. I like to wait at least 2 days. I chose the “Candy Shop” orange as the background. The orange represents the Philadelphia Flyers home colors. At last it is finished, framed, and ready to hang. I really enjoyed doing this project. OH, and Happy Late Father’s Day Kelly!
Lady In Blue
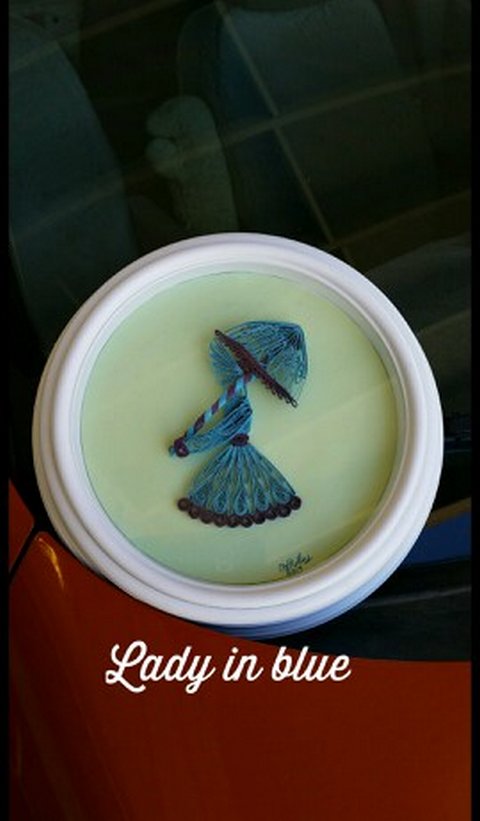
Lady In Blue For Ana.
Click picture for larger image.
Wanda
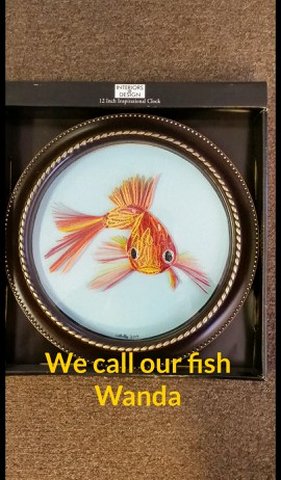 This is an example of a Gold Fish that I made with my quilling strips of paper. I used a clock as a frame to give it a fish bowl sort of look. I call this finished project ” Wanda.”