
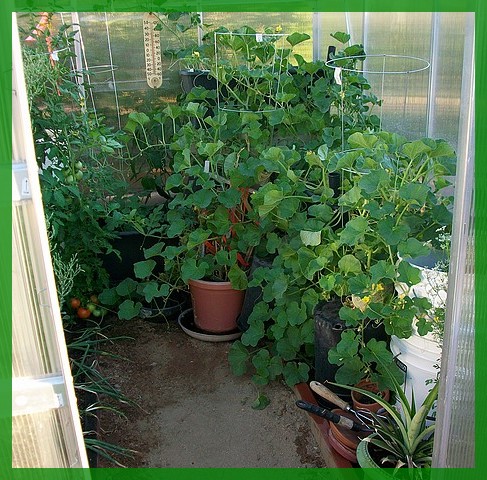
A peek inside
I was not quite sure under which page to place this “Assemble A Garden Greenhouse” article, for it involved a bit of construction before assembling the parts. Therefore, treat this as a review—if you will. I will not go into the detail of how to put the bolts into the aluminum channel pieces other than you will need a drill and or wrenches for the tightening job. However, if you have ever put an aluminum shed together, perhaps you know what a pain they can be lining up the bolt holes. Well, this is not the case with this 6ft.x8ft green house. If you did the proper groundwork, then the rest of the job is a breeze.
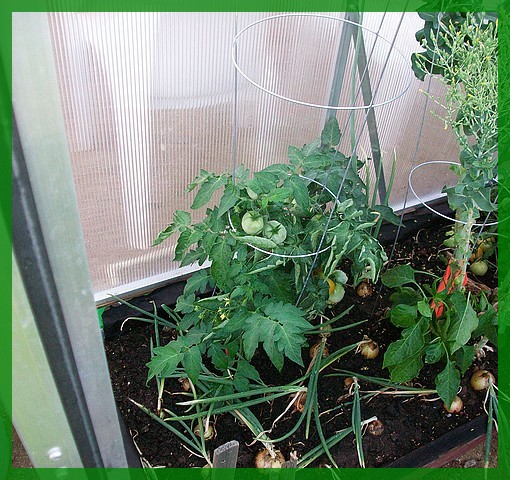
Onions and tomatos
The 6ft.x8ft kit comes with all the necessary parts and instructions to put together a fine, but small backyard greenhouse. There are larger sizes, but I found this size to be most adequate. The price is right too! I thought if I needed a bigger one then I would just buy another this size. Keep in mind that gardening with a greenhouse will provide features that open gardening do not have, but it still will require lots of work to produce those tasty vegetables and fruits.
The benefits to having a green house, in my case, were many:
- I had no cutworms on my tomato plants.
- Birds were not able to peck at the fruits (cantaloupes in my case), or vegetables.
- Pesky ground squirrels and rabbits could not rob the garden.
- Mice and other such night roamers could not get to my garden greenhouse.
- The hot blow drying desert wind did not dry out the garden soil.
- The sun added heat that was contained, and allowed me an earlier planting time and a later harvest time in the colder months.
- Heavy monsoon rain and hail had no effect on my garden greenhouse.
Foundation, wall start
I started by finding a good spot to put the greenhouse. I located it behind a fence and away from prevailing winds, as best I could. Although, It has experienced 45mph to 55mph gusts and I have had a panel or two come off. This was an easy repair; I just put them back on and added more clips that were provided in the kit, should I need them. You should try to place your greenhouse in a protected spot that will get plenty of sunlight and yet maybe some partial shade during the hotter summer months.
Wall crosspieces
The instructions required me to make a 6ft.x8ft base on which the greenhouse base plates (sill plates) will be attached. I used four painted 8ft. 4x4s, and cut them to the proper length. I also wrapped them in some left over Typar house wrap, so as to keep the ground moisture from contacting the painted wood. I suppose tar paper or even roofing tar would also protect the wood as well. However, the proper way to make the base would be to use pressure treated wood. I have had no issues with my base, going on three years now.
Having made the base properly and made sure everything was as level as I could get it, it was time to attach the base plates (sill plates), to the 4×4 base. The base plates do not come with screws. I used some wood deck screws that were left over from another project. They are made to withstand the elements. I recommend screws that will not rust, such as these. If you follow, the kit supplied directions, the base frame of the greenhouse will be properly assembled, and the rest of the framing will go quite smoothly. I highly recommend this greenhouse kit.
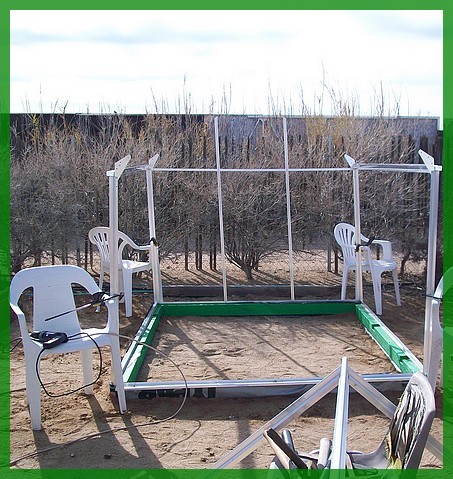
Starting end gables
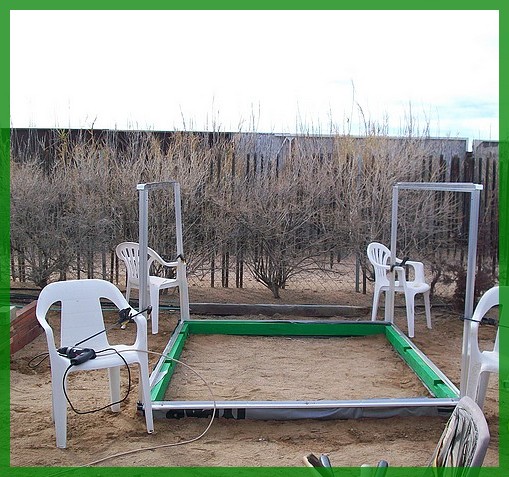
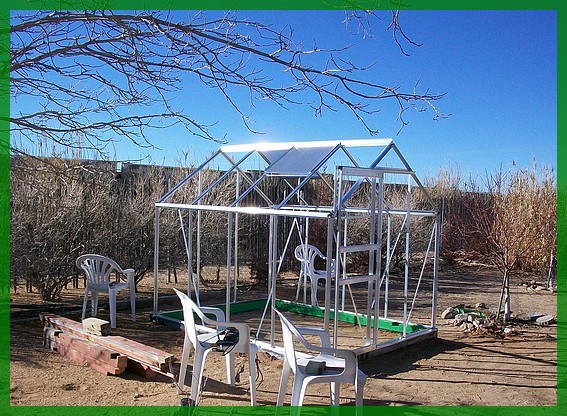
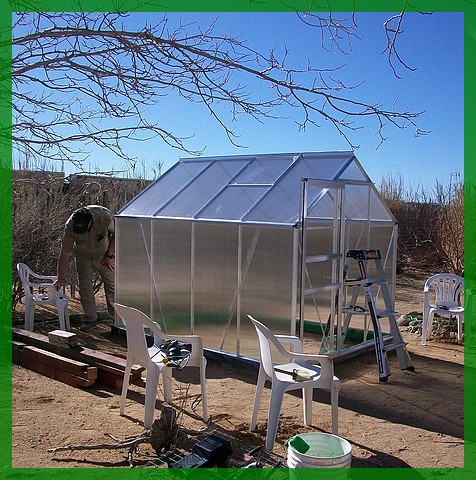
It would be nice to have a helper when starting the walls, because they are difficult to hold and bolt at the same time. I did not have a helper (did not really want one), so I used some outdoor chairs and clamps to act as an extra set of hands. This worked out quite well, even with the occasional wind gusts. After I had the four corner posts tied together and braced, the work became a little easier and more routine. I could not wait to get to the roof.

Left and right planters
I am 6ft.4in and was worried that I would not be able to stand upright inside the greenhouse. However, the center height is listed at 6ft, 5in., and with the whole thing resting on 4×4’s I get an extra 3.4in… I fit easily on the inside, but have to duck a bit getting in the doorway. I suppose if it was built on concrete blocks (per instructions), that the inside room would be even more. Additionally by having the structure built off the ground, it allows the inside floor to be built up. I did this on two sides to make planters as the picture shows.
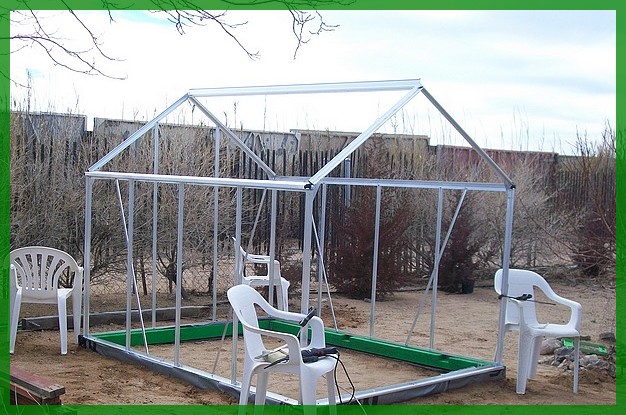
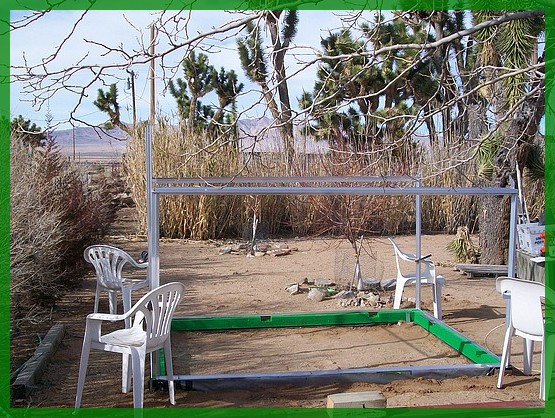
Roof frame
Roof joists
Holding the roof framing pieces together is easily done with clamps, and I was able to install the bolts and nuts in a fashion similar to the wall framing. I proceeded along, adding the metal roof joists as required until they were all bolted in. The little greenhouse was becoming stronger with every step. This gave me a feeling that it was going to survive the desert winds and a sense of quality as well. Now it was time to move to the next step.
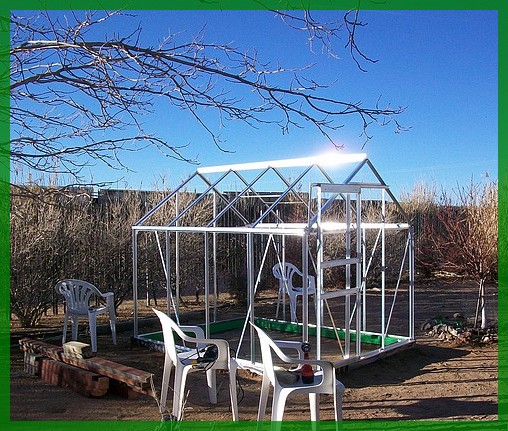
Upper door channel
Window channel in ridge beam
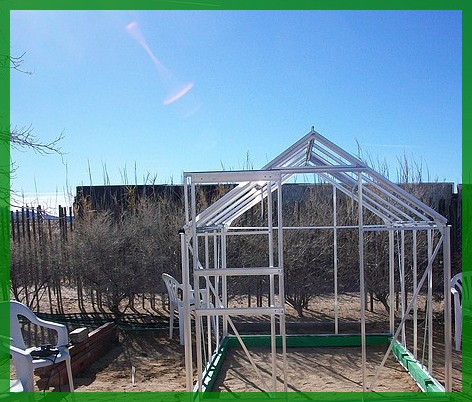
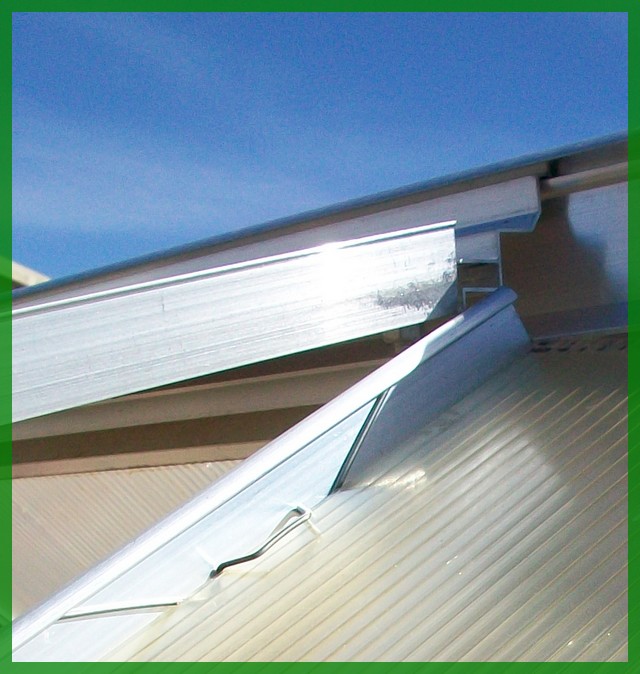
The roof framing done, it was time to assemble a door and its roof channel. I built the door and then installed the channel. The front sill plate has the bottom window channel built in. The door construction went well and the door slid smoothly after some adjusting. I built the window frames next and assembled one on each side of the roof. These steps confused me somewhat, but just remember they swing up, and they hinge themselves into the roof ridge beam.
Window holding spring
First panel
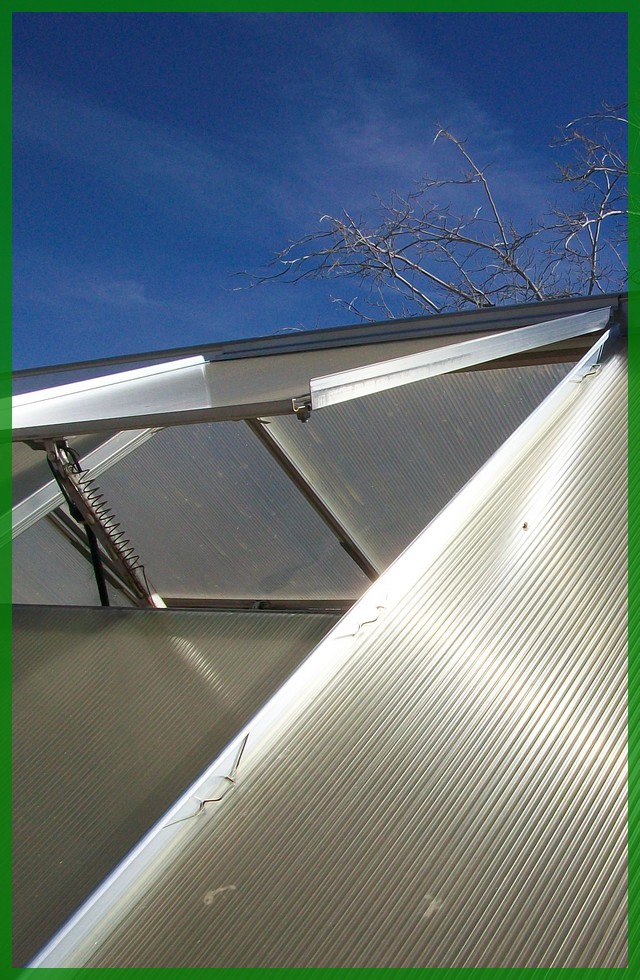
I added a spring to each window handle lock so as to hold them more securely when opened. The wind has a tendency to work the windows to the neutral position. I also hooked a bungee cord from window to window to hold them closed more securely. That task completed, I went on to install the polycarbonate panels. They are stronger than they appear and they do their job very well. They fit into their required channels, and they are held in place by the supplied clips. The clips are visible in one of the pictures.
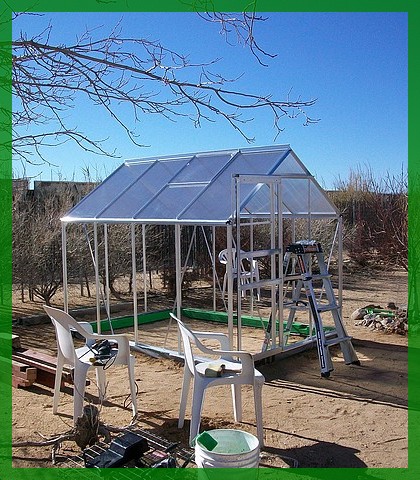
More panels
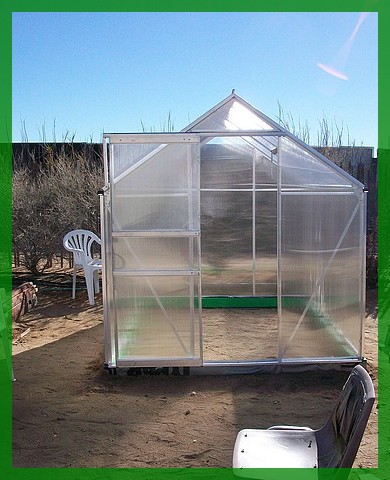
Panels installed
Finally, I installed panel after panel until I was finished. I took a step backward and took some pride in that I had constructed my first greenhouse. Just remember—the foundation is the key to a successful build. Take your time and get that part correct and the rest will fall into place. Build it and the vegetables will come. You can do it!
After the vegetables are harvested, why not use them in an old fashioned recipe. For some older recipes, the kind grandma used cooking fresh vegetables, check out this book on amazon. Here is the link:
http://www.amazon.com/dp/B00BOZ8FMK

Panels completed
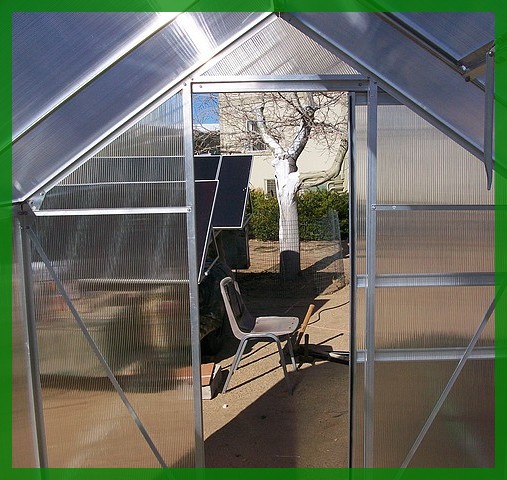
Inside look
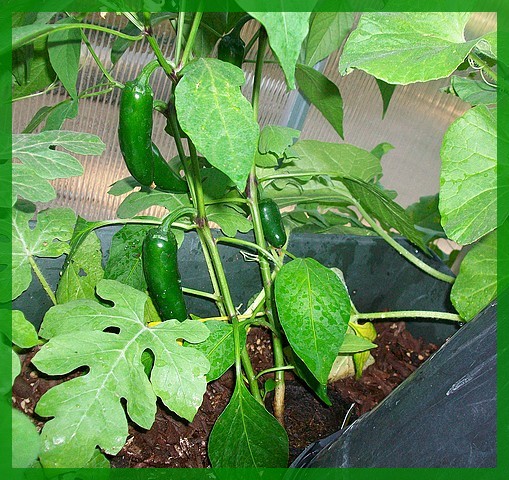
Jalapeno peppers
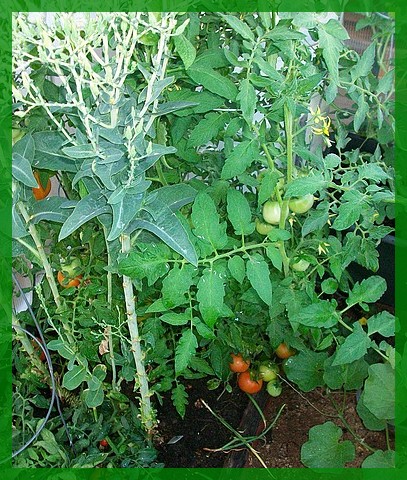
Toe Maters
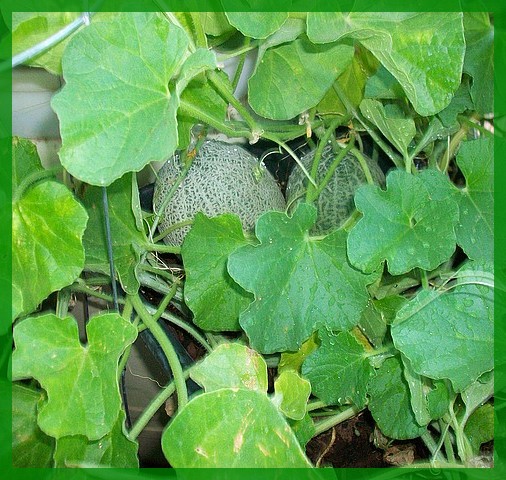
Cantalope

Green Bell pepper