
Tea box decorated with paper quilling
Quilling Is An Old Art Form
Quilling, sometimes called paper roll work, or paper filigree, is the art of making something from thin strips of paper. Quilling has a beauty and delicateness all of its own. Perhaps that is what got me into this hobby. That, and the fact that it was something that I could do while sitting and watching a movie or listening to songs. It is a very relaxing hobby, and yet challenging to one’s own perfection. This hobby requires a delicate touch and a good eye for detail along with patience. As I grew more confident in this hobby, I soon realized that the sky is the limit of things I could make.
Confused At First
When I saw my first example of quilling, I mistook its construction. I soon realized that those little strips of paper had an interesting history. Researching history on quilling, I found my new hobby was not a new hobby after all. In fact, there are examples of quilling dating back to the 1700’s and 1800’s and even back to early monastery monks. Other examples may have existed, but unprotected paper deteriorates over time. Back then quilling was used to decorate boxes such as tea boxes and even used on furniture. Today, quilling as an adornment, may be used in much the same way, yet there are many more ideas. Decorating a scrapbook and its pages, greeting cards, plant pokes, earrings (that are very light indeed), and mosaics, are ideas—keeping in mind that you are using thin strips of paper.
Some Tools For The Craft
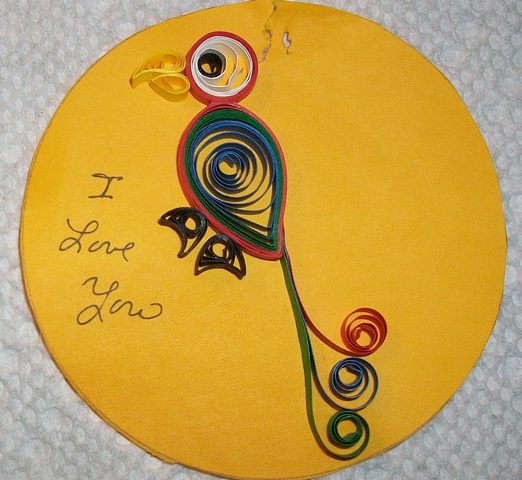
For hubby my first quilled parrot
So just what is quilling exactly? Well, it is the art of rolling thin strips of paper into shapes, patterns and figures. Early quilling was done using paper cut from the pages of books and rolled with the fingers. Today there are tools that can make the process much more delicate, but when teaching children it is best to start rolling with the fingers. Many tools are available for purchase, and yet you may have some tools around the house that will do just fine.
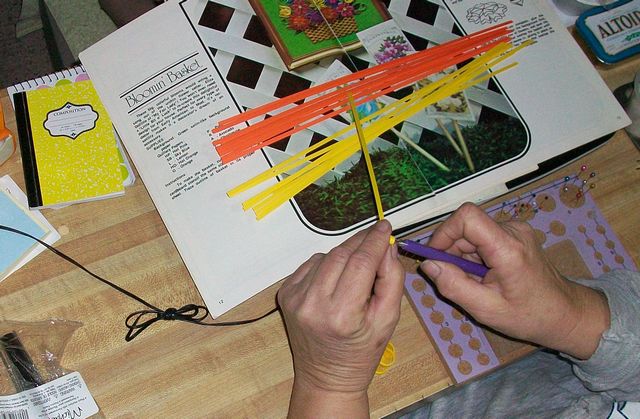
Using a slotted quilling tool
You probably have some tweezers, a ruler, and a pair scissors. If you have some cocktail sticks, pencils, a large paper clip called a bulldog clip then there is less to buy. You will need good glue. I recommend PVA craft glue, but if you have glue that is water based, nontoxic, and dries clear, you may give it a try. Your background, if you need one, can be a thin sheet of cardboard or even wood or cork, or…? In addition, you will need some thin strips of quilling paper around 100gsm weight. Paper can be purchased as well, but try cutting some strips from some construction paper which I believe is 120gsm, just to get your feet wet.
Beginning Steps
So, let us begin. The following steps will teach you the basics of doing quilling by hand.
- First, a quilling strip is 9 inches in length, but as a beginner tear a strip ¼ in. wide and 4 ½ in. in length. Tearing makes rough edges that stick together easily. Now, at the end of the strip scratch it using your index finger against your thumb. This will curl and soften the strip.
- Now bend that softened end over to start the curl. Sometimes if your thumb and finger are somewhat damp it is easier to hold the strip.
- The curl should be started and the object is to roll it up still using your index finger and your thumb.
- After you have a good little bit of the strip rolled, you can now grasp it between your thumb and index finger sideways. You are now holding it like you would if it was a cookie to be eaten. Finish rolling it all the way up as if you were rolling up a belt.
- When you come to the end, the coil all rolled up, let that end go and it will spring back open a bit.
- Glue the sprung open end down. You want to have a finished coil that is as perfectly spaced and round as you can get it. Therefore, do not pull the end as to tighten the coil, just glue it where it seems to want to spring to. You will get the hang of it after a few attempts.
- Finally, you now have a finished round coil that can be used to form many other shapes. Just squeeze it into triangles, ovals, squares, leafs, or any shape that you need.
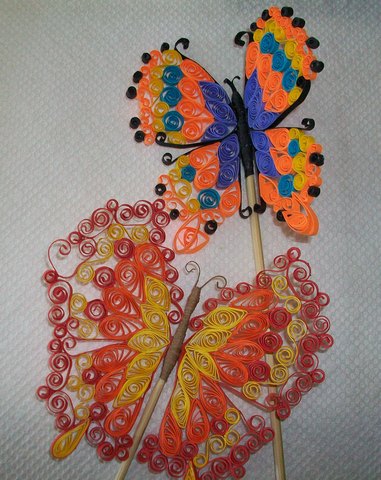 Quilled butterflys |
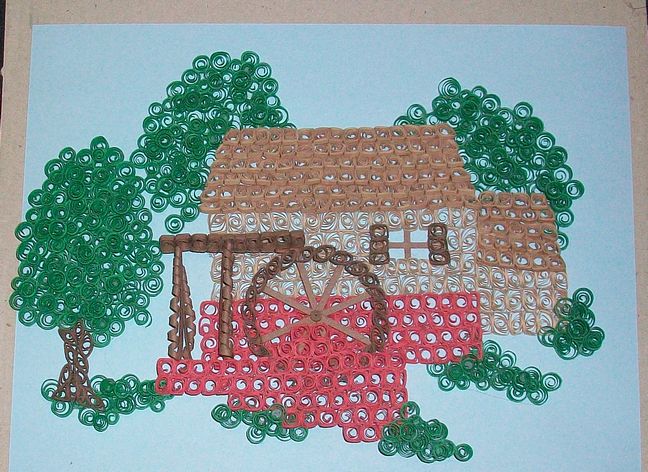 Quilled mill house |
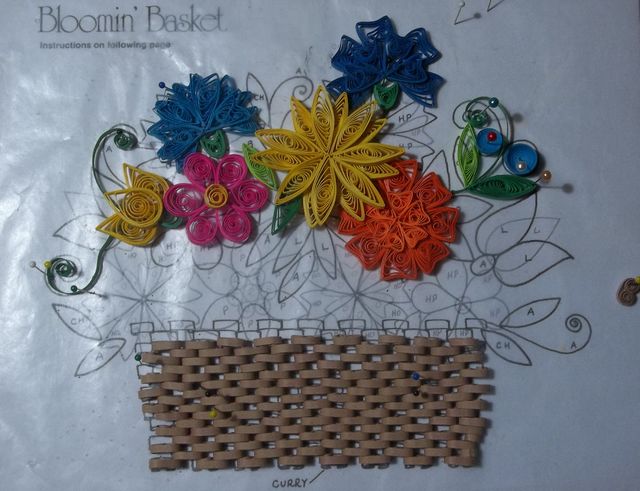
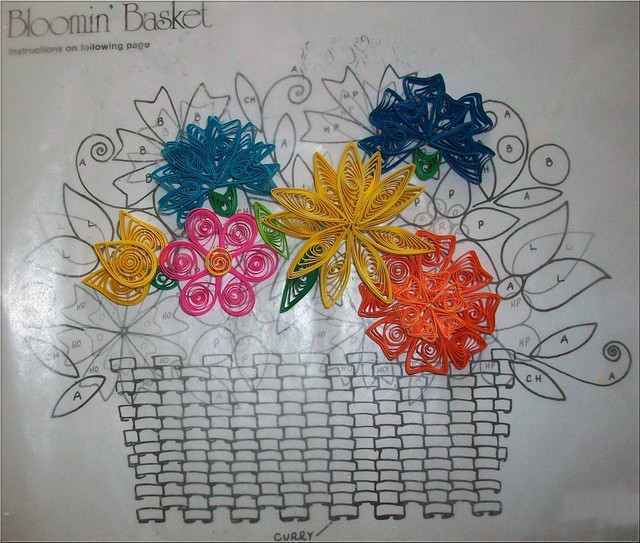 The Blooming Basket–Work In Progress |
I plan on displaying some of my works in progress, but for now I only have the one pictured. I hope to update the progress of the “Blooming Basket” as time allows. I have only this one project for now, which constitutes about a weeks worth of work, maybe.
Updates To Blooming Basket
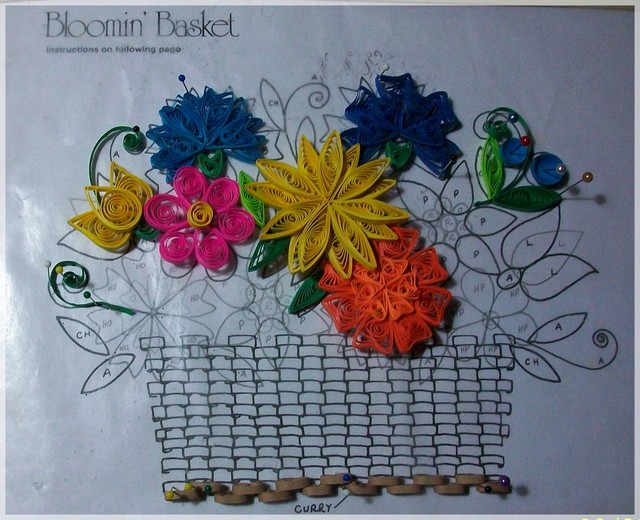
Looking better
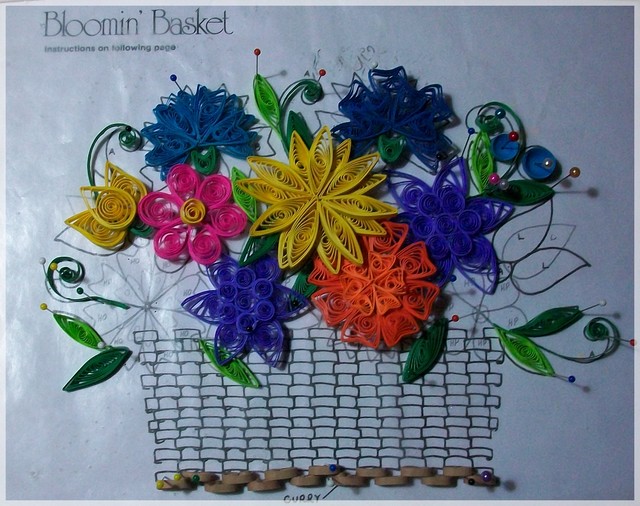
Adding more flowers
Here, I am showing a bit more progress. It really does not take a week to complete some of this work–it just depends on how much I want to work on it. It takes time to roll the tiny paper strips, and glue and shape them into the flower petals. Then I have to attach all of them together to make a flower. If I did all of this properly, then the flower size fits the picture size. It has to, in order to get all of the flowers in the basket properly.
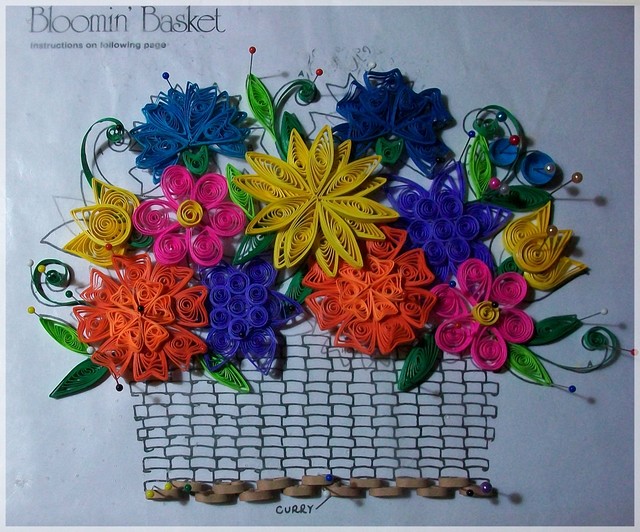
More flowers and some leaves
This is what I have fininshed, up till now. Everything is held down with pins until I have all of the flowers, leaves, and stems made. Then it will all be properly positioned and glued into place. Check back soon for more updates!
A bit more on the basket
I finally found some time to work on my basket. I have removed the flowers so that I can concentrate more on the basket part. The basket is progressing slowly, as I have to roll each little part, glue it, and wait for it to dry. Then I am able to glue it in place on the paper canvas. Each one has to be sized to look like the others, and this takes time to do properly. I have not counted the number of these little brown wraps I need, but there are many. So, till the next basket update–keep quilling!
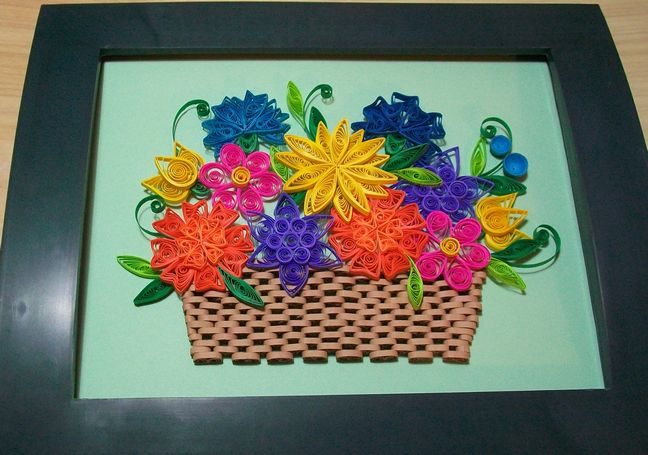
Finished basket
Well, I finally finished my basket. Once I completed the basket part there really wasn’t much left to do other than glue everything in place on a sheet of construction paper, and find a frame. I really couldn’t find the frame I wanted so I settled on this one. Maybe later I will change it should I run across one I like better. Anyway, that is it for this project. Feel free to email your questions.
I think my next project will be a plastic canvas project where I will make a Flip Wallet. Stay tuned.
<