
 The way to dig a backyard pond yourself (how I did it), is in the following steps. This is the first pond I have ever dug, and I doubt I will do another one without the aid of bigger equipment. The first thing you need to do is find a spot for your pond. I was lucky to find a spot that was just the right size. Keep in mind that you do not want your pond under trees where the leaves will surely give you trouble when cleaning the pond. Still, I put mine near two trees anyway, and I think about my choice every time I see leaves floating in the skimmer.
After deciding where I wanted to put the pond, it was time to decide on the shape. I decided that a kidney shape would fit nicely in my chosen area. To lay out the pond, use an old or new garden hose. It is large enough to display an easily seen shape and it is flexible enough to change the shape at will. I had fun moving the hose around and visualizing different pond shapes.
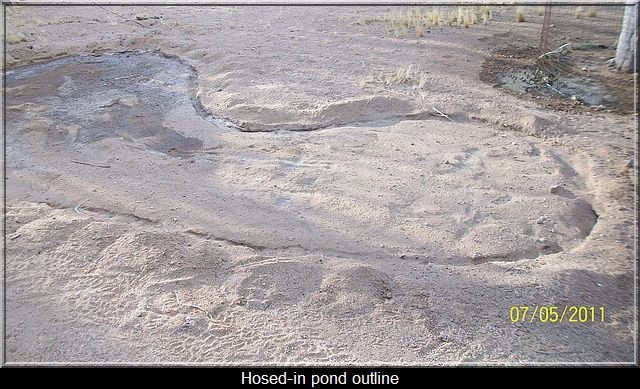 The next step involved transferring the outline of the hose to the ground. At first, I was going to spray paint the outline, but decided on something better. I thought about using my pick to dig an edge alongside of the hose, as well. What I finally ended up doing was to use a jet stream nozzle on another hose and let the water pressure dig me an outline. Once I had my outline, I removed the hose and continued to pressure dig deeper into the outline. I then used my shovel to start removing some very loose dirt.
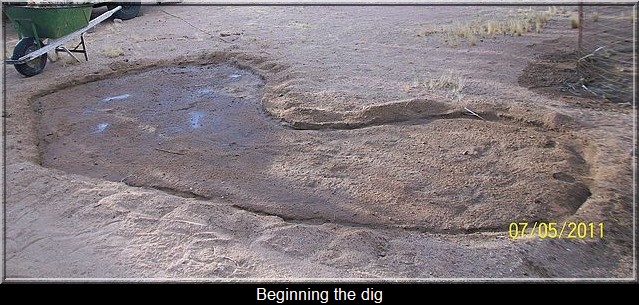
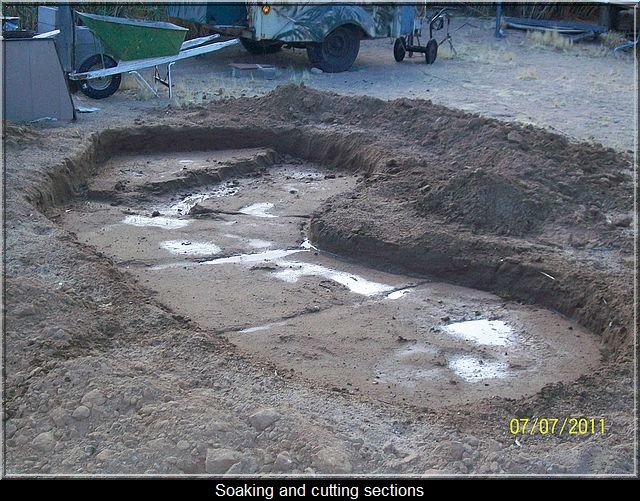 It was July and the ground, as you might imagine, was hard and dry. That was of no consequence though, because I continued to use the hose to loosen the dirt to make it much easier to remove. I wet the dirt very well overnight, and the next morning I was ready to begin digging some more. The pond was beginning to take shape. It also was beginning to get some depth to it—that allowed me to add more water for its overnight sitting. As the water soaked deep down, the digging became very easy. Two men could have probably dug my pond in a day or so, but it took me a week. I was in no rush.
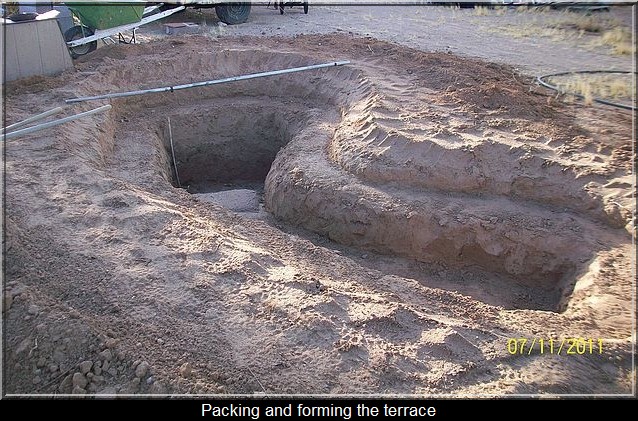
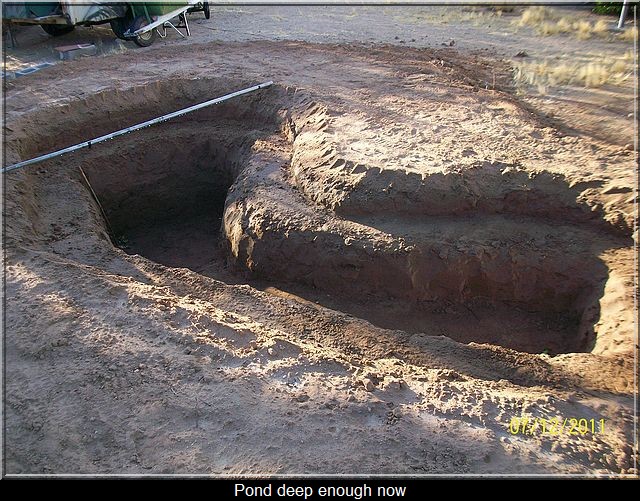 I wanted an underwater terrace effect, as sort of a safety feature, in case someone slipped into the water there would be a footrest. I also wanted to have some underwater rocks and the terrace ridge provided me that as well. I continued digging the depth and sloping my pond from the shallow end to the deep end. I wanted a shallow end so that pond lilies and water Iris could grow, and provide eye appeal and some shade for the fish. I needed to make the pond four feet deep at one end so the fish could survive the winter. My pond is two feet deep at the shallow end, and slopes to four feet deep at its deepest part and it is about fifteen feet long.
I wanted my pond above ground level, so as I removed the dirt, I tossed it into the low places on the ground, and piled the rest for use later. When I finished digging, it was time to spread the pile of dirt. I did not have enough to build a slope for a stream or waterfall. I did have plenty to raise the whole pond about eight inches at its lowest point so as to level it. My ground slopes, but my pond is level. I used a homemade water level to check my dirt filling process on all sides. I purposely left a small area at the shallow end slightly unleveled, to allow my pond to drain during overfilling or a large rainstorm.
Having the pond dug and the ground leveled, it was time to put the underlayment down. I found my underlayment and liner at an online auction house. I almost decided to skip the underlayment due to the added cost, but I wanted added protection to the liner from the backside. Pond liners come in different thicknesses and I chose a 45mil liner. Make sure you do not buy a liner to thin or to short. A web search will help you determine the best liner and size for your pond. I measured my length, width, and depth with a tape measure keeping in mind that I wanted the liner to have at least a foot overhang.
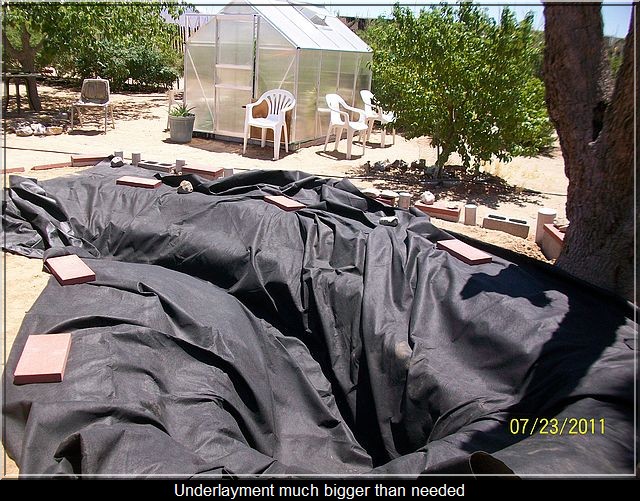
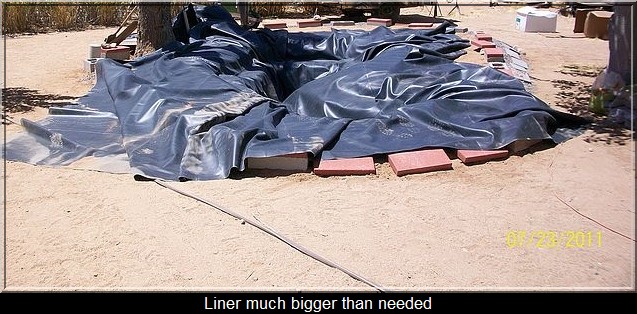 Well, I really could not find the size liner or underlayment I wanted, so I chose a larger size that needed cutting. I did cut a good portion, but left the rest of the liner alone, as I did the underlayment. I ended up with an overhang much larger than I needed. I decided this might be a good thing, as the extra liner would deter weed growth through the decking material I was using. I would not have to buy another product to deter weeds.
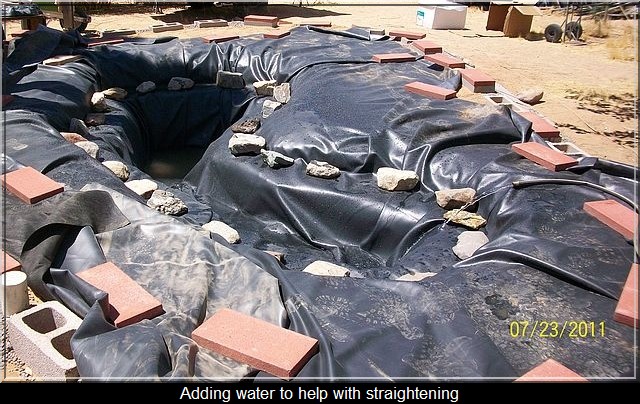
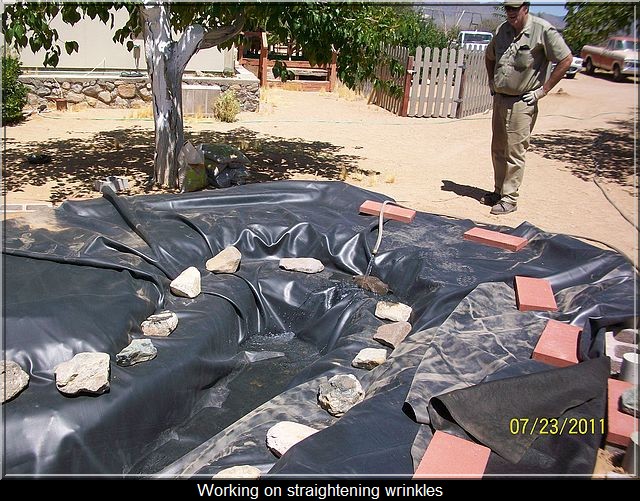 One of the more difficult tasks is getting your underlayment and liner placed with as few wrinkles and creases as possible. The sun made hard work harder, but helped make the liner more flexible. I recommend at least two people for this job. I put a little water in to help form the liner, as well. I used a few capstones and concrete blocks to help hold the edges as I moved along. Additionally I placed some rocks in key areas of my lining task.
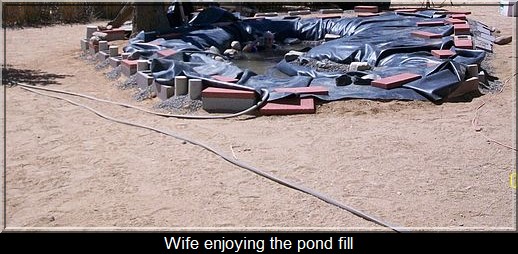 With the liner placed as well as I could get it, it was time to fill the hole with water. I really enjoyed watching as the pond began to take form as it filled. Of course, my wife wanted to make sure the liner was on the bottom good. This gave her an excuse to use the pond as a swimming hole. It holds 1500 gallons of water at the most. We both were pleased with our work, but there still was much to do.
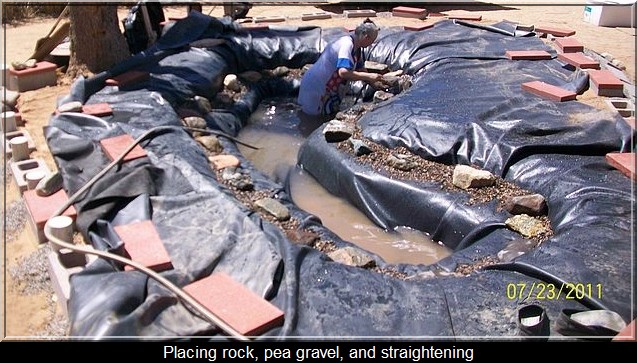
Pea gravel and fieldstone lined the terrace portion. We planned on using pavers and step stones for the deck. I wanted the deck to be removable should the liner ever need to be replaced. In fact, should I decide to move, I could take the whole pond with me excluding the water and the hole. However, that will not happen—too much work. Continuing on, we placed the pavers and step stones around the pond to our choosing.
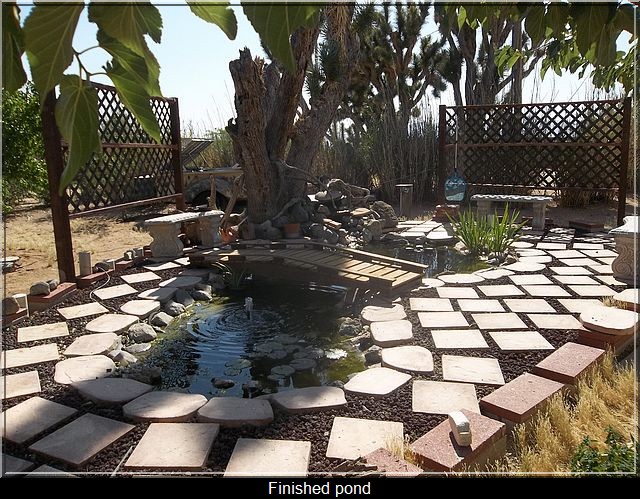 After placing the pavers and leveling them with sand, we needed to put something between them to fill in the gaps. We settled on volcanic rock pieces that came in 40lb plastic bags. The local hardware store is where we purchased the rock, and the pavers. They had many choices and we settled on what fit our budget. Finally, we were finished. The hole was dug, the liner was in, the deck was on, and the pond was filled. Now it was time to install a filter, skimmer, and fish.
We hope you liked reading this. There are many good sources on the internet for pond information. We thought you might like seeing how we did ours. It may not be perfect, but it is enjoyable none-the-less. Good luck on your pond project—you can do it!