
 The “E” was getting close to its 100K mile service schedule. I decided to get started on some of the scheduled maintenance.
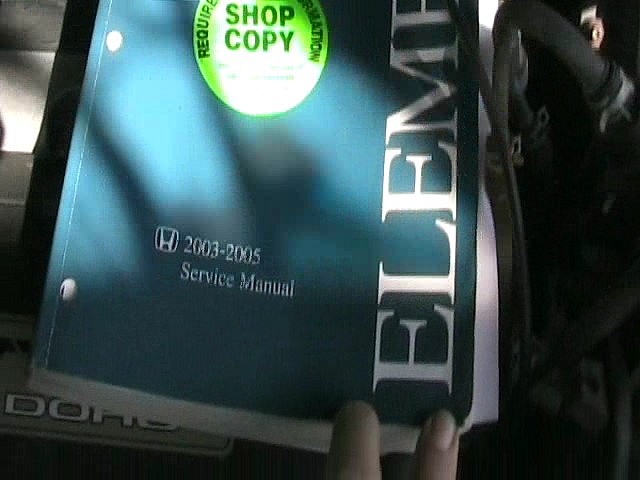 I am lucky to have the 2003-2005 Honda Element Shop Manual and all of the original owner’s booklets to help me with my repairs. I had recently replaced all of the brake pads, and brake fluid, so all that seemed to be left to do were the drive belt, spark plugs, and a radiator flush. I chose the drive belt first. The shop manual at no time said I had to get under the vehicle to replace the drive belt. I therefore, assumed the repair could be accomplished from the top.
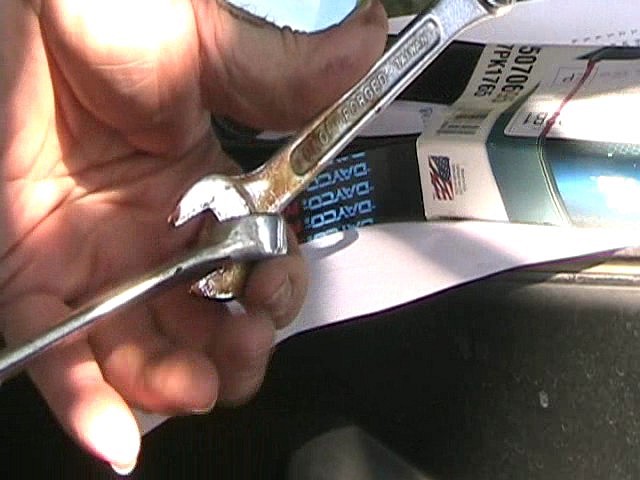 I began by removing the Honda add-on cruise control. Then I made myself a tensioner pulley tool by joining two wrenches
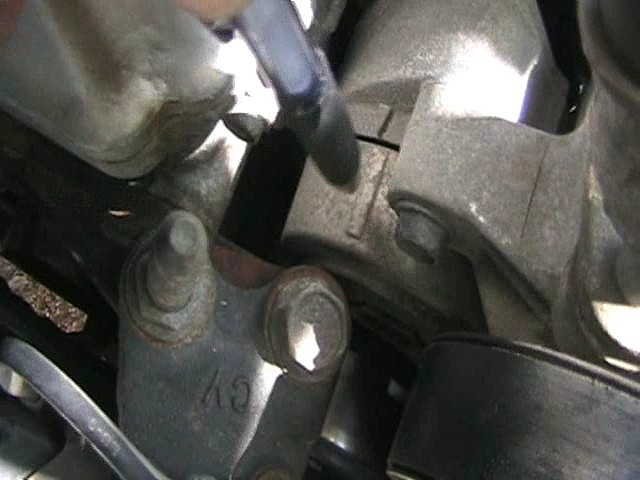
  together. The smaller wrench is a 14mm and it fits the tensioner pulley bolt on the front. The pulley bolt tool is quite long and one can get some nice leverage with it, but if you do not have one then the put-together wrenches work fine. I then positioned the wrenches on the pulley bolt and pulled toward me ever so carefully to keep them from slipping.
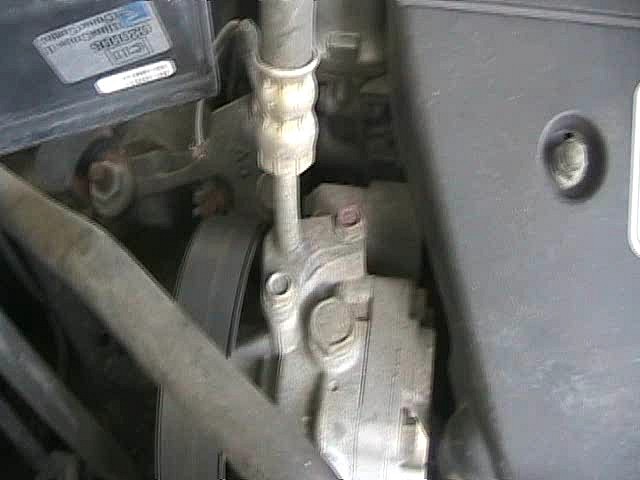
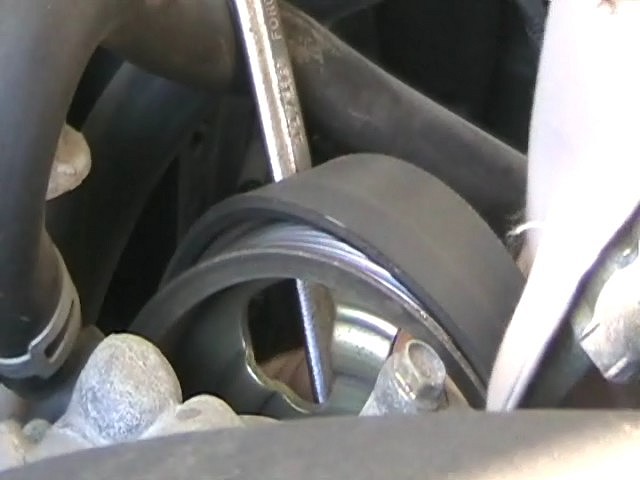 While holding the tension on the pulley with one hand on the wrenches, I proceeded to remove the belt from
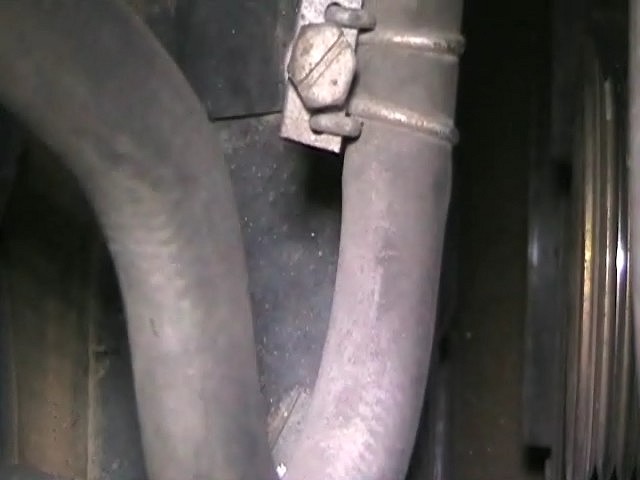 the power steering pulley with the other hand. I found that when I slipped the belt from the water pump the going got easier. Finally, the belt was off all the pulleys, and I just needed to twist it sideways to navigate the bolt heads on all the pulleys and a large protrusion from the AC compressor. The AC compressor protrusion gave me the most trouble. There is just enough room to turn the belt sideways and no more. If you have smaller hands than I do then this job should be easier. I have since purchased a drive belt tool that I will be able to use on my other vehicles as well.
I ended up pulling the belt out from the backside top, not underneath. Sometimes I think that removing it might have been easier had I removed a tire, and some splash panels, and removed it from underneath. Anyway, once I had the belt past the bolt head protrusions on the pulleys, I was able to pull the belt out from the top rear of the engine.
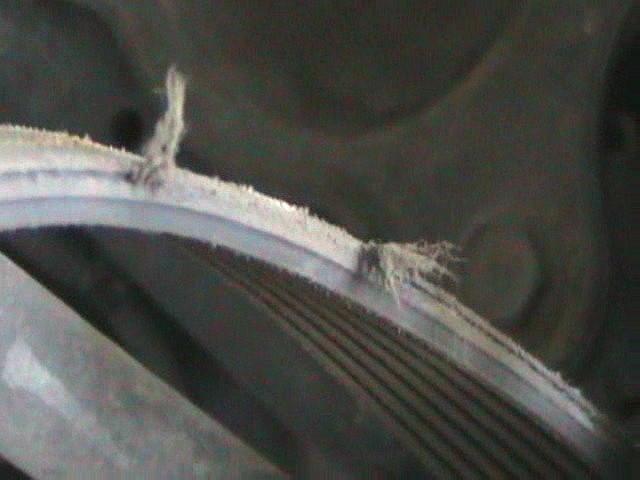 Now to look at the old belt and what it had endured. It was also time to spin all of the pulleys by hand to make sure they were still good—no grinding or binding, just nice free spinning pulleys. I noticed that my water pump pulley was somewhat snug and squeaked when I rotated it. I will keep an eye on it for a future replacement, as it was showing no signs of leaking, or binding. The belt grooves were still nice, but the flat side of the belt was a bit gouged and looked like it had started to separate some. I could not help to wonder if the wear I was seeing was caused by the previous installation.
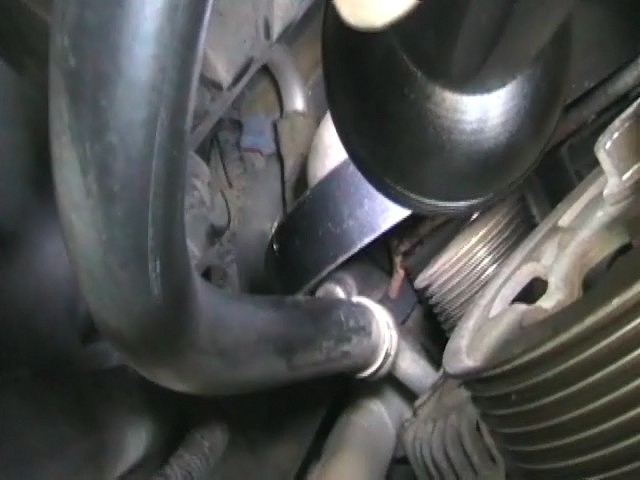 I checked the new belt with the old one for quantity of ribs and length. They were the same. Then I positioned the new belt sideways to slip it around each pulley bolt head as I came to it and the infamous AC compressor protrusion. This was the hardest part of the repair, as I had a new stiff belt and very little room. To make up for my short arms, I used a sprinkler key,( a long smooth round piece of metal with a U shape end) to position and hold the belt in the grooves of the AC compressor and crank pulley, while my other hand held the belt and applied tension.
Letting go of the sprinkler key, I positioned the belt around the water pump and used my tension wrenches to pull the tensioner back toward me and slip the belt on the power steering, while making sure belt grooves were lined up with the tension pulley. Whew! Not an easy task! Later I thought that a tension pulley tool might serve as well as the sprinkler key for positioning the belt, and then applying the tension.
 Now that the belt was on, I checked to make sure it was properly in position on all of the pulleys. After doing so, I started the
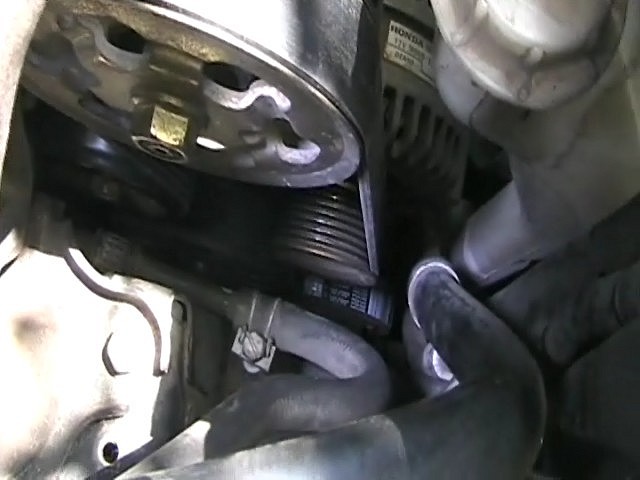 engine and checked the belt wear indicator position and made sure that the tensioner was functioning properly. The manual says to check pointer against the indicator with the engine off and then idling. If the indicator changes position or fluctuates, then the auto-tensioner is in need of replacement. I was satisfied with my results. I re-installed the cruise control and restarted the engine just to look at my brand new belt. Success! You can do it!