
1987 Ford F150 Clutch Pedal Repair and Test Drive
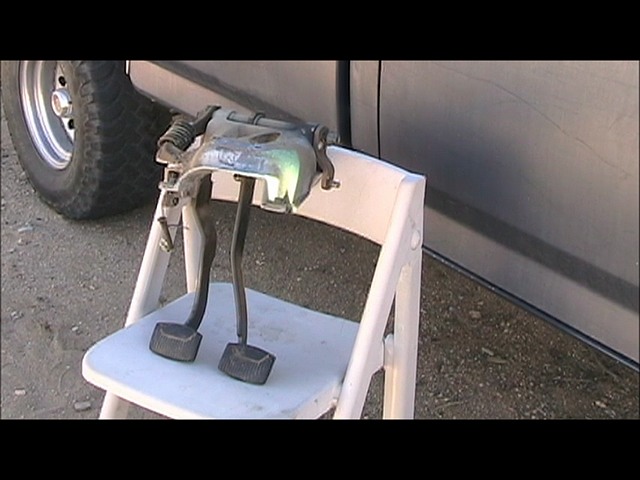 My no start problem was due to my clutch pedal not traveling enough to engage the clutch interlock switch (safety feature), or release the pressure plate sufficiently to shift smoothly. Therefore, realizing that my floor mat was stopping some of the travel, I was still not satisfied, for the pedal was just too close to the floor. I ended up removing the clutch-brake pedal assembly to see what the extra travel issue was. I found a few different problems, and fixing them promised to be an interesting journey.
Worn Parts
The first and most obvious issue was the worn out clutch cylinder rod along with the worn out clutch pedal actuating arm. The second and less obvious issue was a worn travel hole that the main clutch-brake arm rides in. The third issue was the worn out plastic bushings that fit in the clutch-brake arm travel holes. I ordered a new clutch arm and new bushings and a new clutch master cylinder and arm. However, while I waited for the new parts, I decided to try and repair the clutch pedal actuating arm and worn out travel hole in the housing.
How To Fix
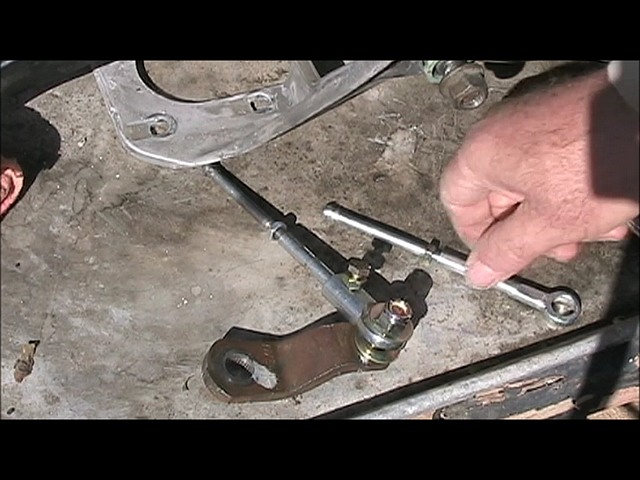 I searched the web and landed on the “Ford Truck Enthusiasts Forum”… http://www.ford-trucks.com/forums/forum7/… This is where I found a solution to the clutch pedal arm. The fix evolved buying a Heim joint fitting (Aurora CW-6 CW Series 3/8″ Economy Right Hand Female Rod End). I drilled out the threads and drilled and tapped it for a 5/16×1/2 grade 8 bolt with a lock nut. Next, the clutch master cylinder rod worn area was cut off and rounded to fit inside the Heim joint while making sure not to remove too much from the length. The worn clutch pedal arm was next on my list.
I ended up grinding the two spot welds holding the worn out shaft that holds the clutch master cylinder rod. Next, I was able to tap the tiny shaft free from the arm. I replaced this tiny shaft with a grade 8 bolt 3/8 x 1 ½ inches. This bolt allowed the Heim joint to attach to the arm using 2 washers and a 3/8 lock nut to keep it all secure. The next step in my journey required the use of some JB Weld (best stuff in the world) for lots of repairs.
 Using Gorilla Tape (more good stuff) and some JB Weld, I was able to fill the worn travel hole which I later Dremel tool grinded to as near round as I was able. The only thing left to do was to install the bushing after lubricating them with silicone spray. There is probably a better lube for these bushings and time will tell if I should have found one. The difficult part in replacing the bushings was first removing the clutch pedal spring. I needed to be careful and not have the spring fly out into me.
Finally It Is Done
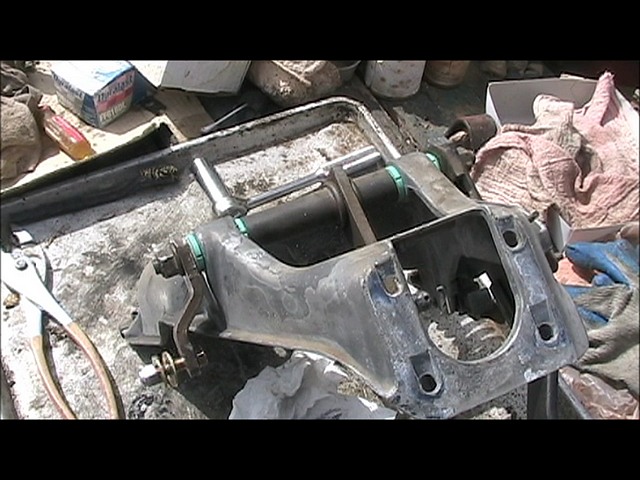 I used some big pliers and a big screwdriver to wedge it out of its position. So, when the time came to install it, I compressed it in a vise and tied it with some stout tie wire. I then positioned it back in its spot and cut the tie wires. The pedal assembly was now complete and I put it back into the F150. I was ready for a test drive! Some of the parts I purchased are in the ads. As always, if you do not feel confident doing this repair then let your mechanic do it. By reading this you will know more about the work he will be doing. Thanks and Bye for Now!
<