
thi
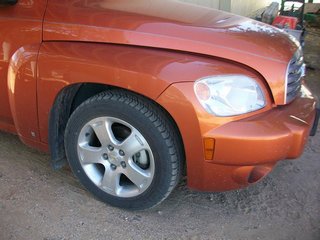
Chevy HHR Struts Removed And Replaced
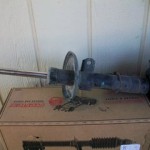
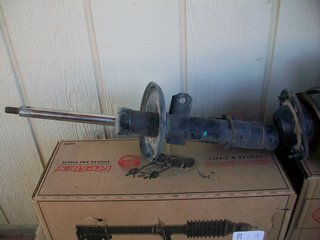
 The Chevy HHR struts are removed and replaced with the help of the “OEM/MacPherson Strut Spring Compressor” tool I purchased. Additionally, you may use a “strut rod socket”. It will make this job easier. Unfortunately, I did not have one. This is a dangerous procedure—follow proper safety procedure. You do not want a spring flying out at you. For safety, I use a bench vice to hold the strut assembly during this procedure of removal and installation.
Strut, Strut Component, and Spring Replacement
Step 1
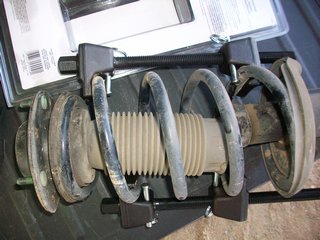
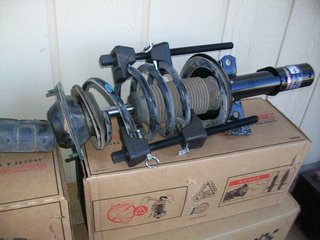
- Remove the strut from the vehicle, mark the components (spring and upper strut mount).This makes for a proper reassembly. Second, install the strut spring compressor tool. Position the two parts of the tool opposite each other on the spring, and use the safety lock features of the particular tool. The OEM tool I used has slide pins that sort of lock in place, thereby holding the tool on the spring. Click here for the review I did on this tool.
- Now, begin by tightening each screw shaft on each tool equally. Make sure to alternate from one to the other, until the spring is compressed. Consequently, you will know the spring is compressed when the strut moves freely. In contrast, some people use an impact wrench on the screws in order to speed up the compression process. However, I like to manually tighten the screw shafts in order to get the feel of the tightness. I rarely go past compressing the spring just enough to remove the strut.
Step 2
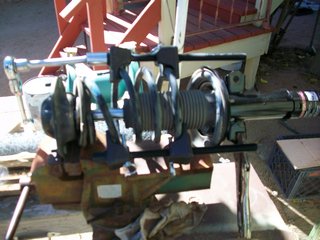
- Now use the strut rod socket (24mm check size for fit) or the OEM shock absorber tool or equivalent to remove the upper strut mount nut. I use a pair of vice grips to hold the strut shaft and then I loosen the nut with a wrench–I believe it is a 15/16. However, I only recommend this as a last resort, as there is a chance of scarring the strut shaft, and lowering its useful life. Try to use proper tools if you can.
Step 3
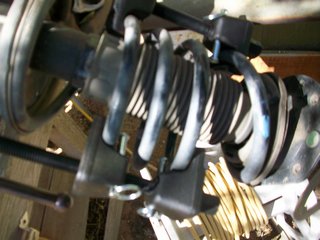
- Notice how the coil spring fits into the upper and lower portion of the strut mounts. You should have the upper one marked.
 The lower one you just have to remember or use your camera and take a picture. You can now remove the upper strut mount and the coil spring—leaving the old strut naked looking. Now it is time to install the spring and upper strut mount on the new strut.
The Assembly Procedure
Step 1
- Now install the coil spring and upper strut mount to the new strut. Also, I leave my spring compressor on the still compressed spring. Next, install the coil spring and upper strut mount to the new strut. Above all, insure the bottom and top of the spring and their dampening parts are correctly positioned just like the original struts.Finally, install the strut retaining nut finger tight.
- Use the shock absorber tool to hold and tighten the strut shaft nut to 75 NM (55 ft. lbs.).
Step 2
- It is now time to remove the strut spring compressor tool from the spring. Start by loosening slowly, making alternating turns on each side of the spring until the spring is fully decompressed. Remove the spring compressor tool.
- Install the strut to the vehicle.
Step 3
- Do the other side. Install the struts. Test drive. Go have a couple beers or whatever. Congratulations!—You did it!