Another Quilling Project
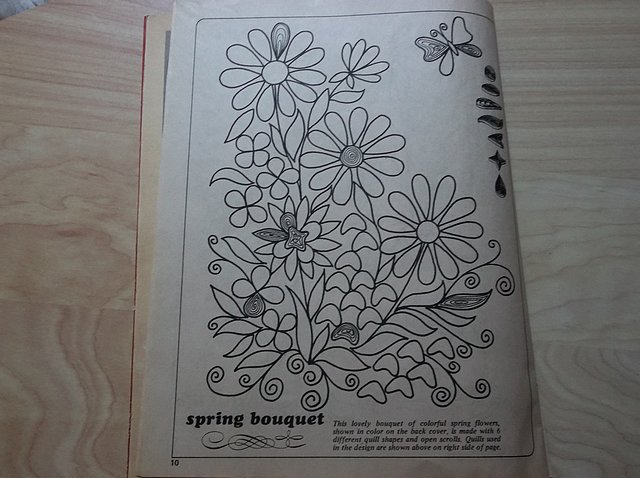 I decided to do another quilling project. Sometimes I jump from one project to another, but this flower pattern caught my eye, and I could not resist the temptation to complete it. I had most of the colored paper stock already so I said ‘why not’, and got started. This was not a difficult quilling pattern, but I did run out of paper at one point. In addition, I decided to buy a small manual machine for making my strips of paper, thus enabling me to save some money on precut quilling stock.
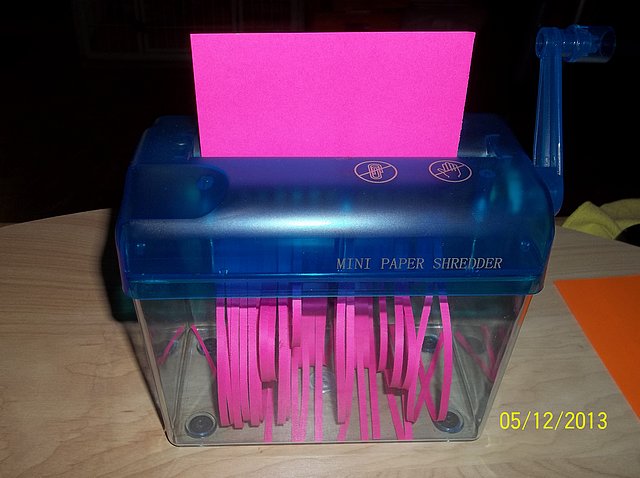 This project was a first for me in that I used the paper cutting machine to make all of my strips. The machine functions like a paper shredder and works very well. The edges are slightly jagged and not quite as smooth as the factory precut paper, but hey, now I can cut strips from any paper I choose.
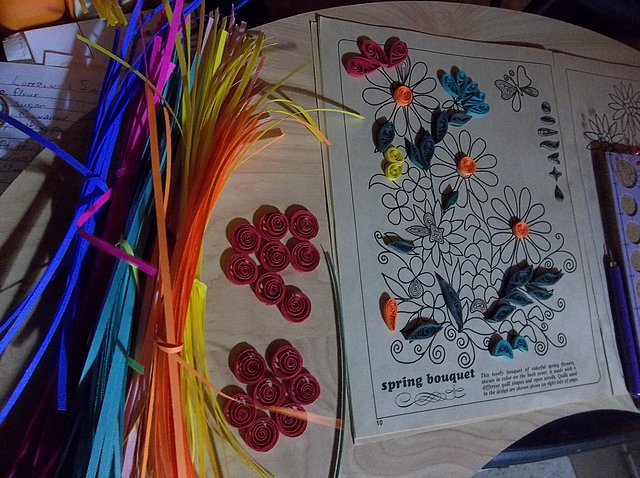
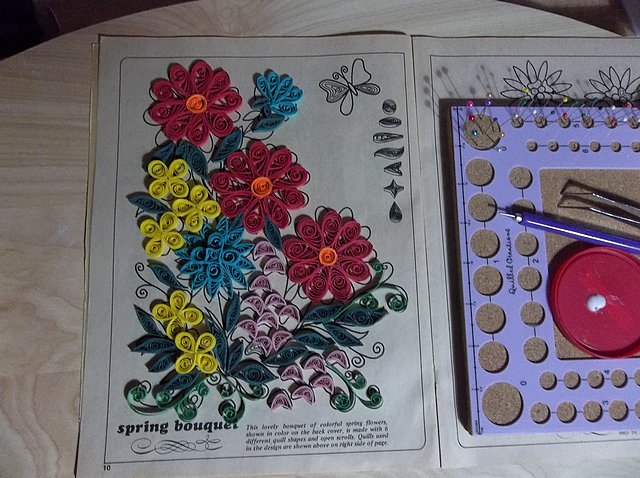
 As you can see, I roll my strips into the desired size and then I position them on the pattern to check for size. The quilling board helps in making uniform circle sizes which are later slightly squished to the desired shape. When I am satisfied with the result I move on to another shape. After all the shapes are completed for one flower I then glue them together on the cork board.
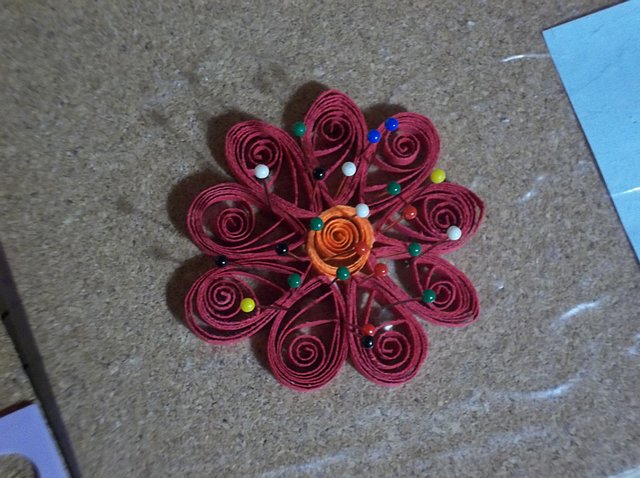 The red flower example is pinned to the cork board. This is the way I add the flower petals to each other and thus making the final flower shape. I like to glue all my shapes together this way. The wax paper underneath the shape keeps the glue from sticking to the board.
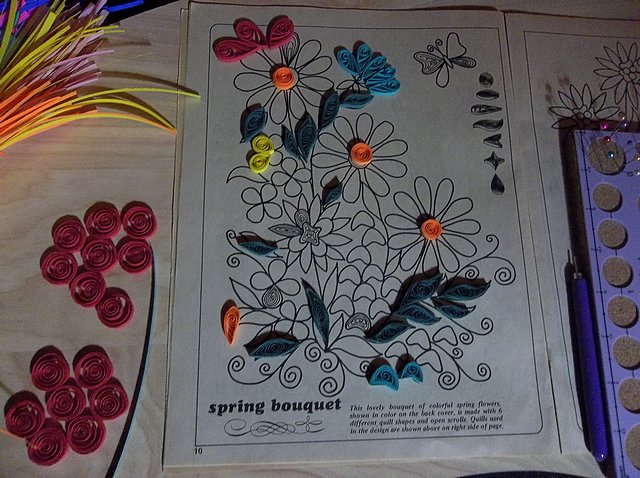
 Once I completed all of my flowers, I then positioned them together using the pattern as a guide to check for proper fit and alignment. Afterwards, I put them together again, but not on the pattern, and then I glued them all to one another. Remember that I have already checked each one against the pattern so they should all fit together nicely, and did. The butterfly is the only part that is separated from this gluing together.

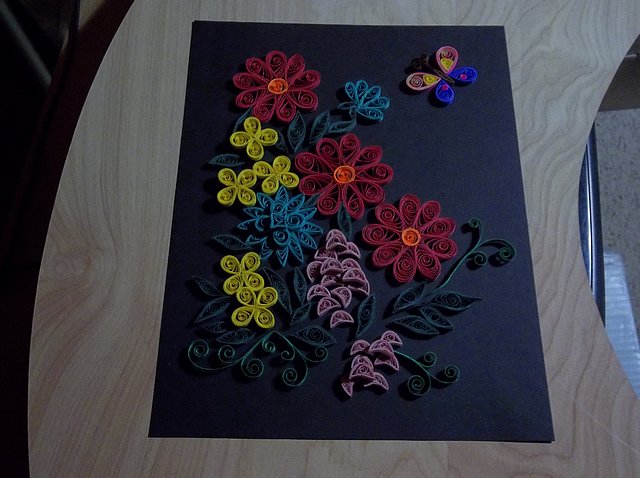 After all the glue is dry it was time to decide on a mounting background. I could not decide on which mounting background to use. I had to choose from a black, green, gloss white, and matte white. I decided to choose the matte white. The colors seemed to stand out better with the matte white, but I liked the black as well. After the flowers are glued in place on the matte white background, I will mount my work in a frame.
Stay tuned…